As I work on my State Fair Baking plan, I’ll need to decide which categories are worth entering. I think I can make a great shortbread, but… can’t a lot of people? How do you stand out in a category where the the basic form of the recipe has three ingredients? It’s butter, flour, and sugar. How do you stand out with something made with the three most perfect ingredients?
And is the goal even to stand out? Is throwing in a Chocolate Orange Shortbread too random? Is doing a simple but perfect plain shortbread the key to success? Should I be aiming for a shortbread that stands out because it doesn’t stand out in any way?
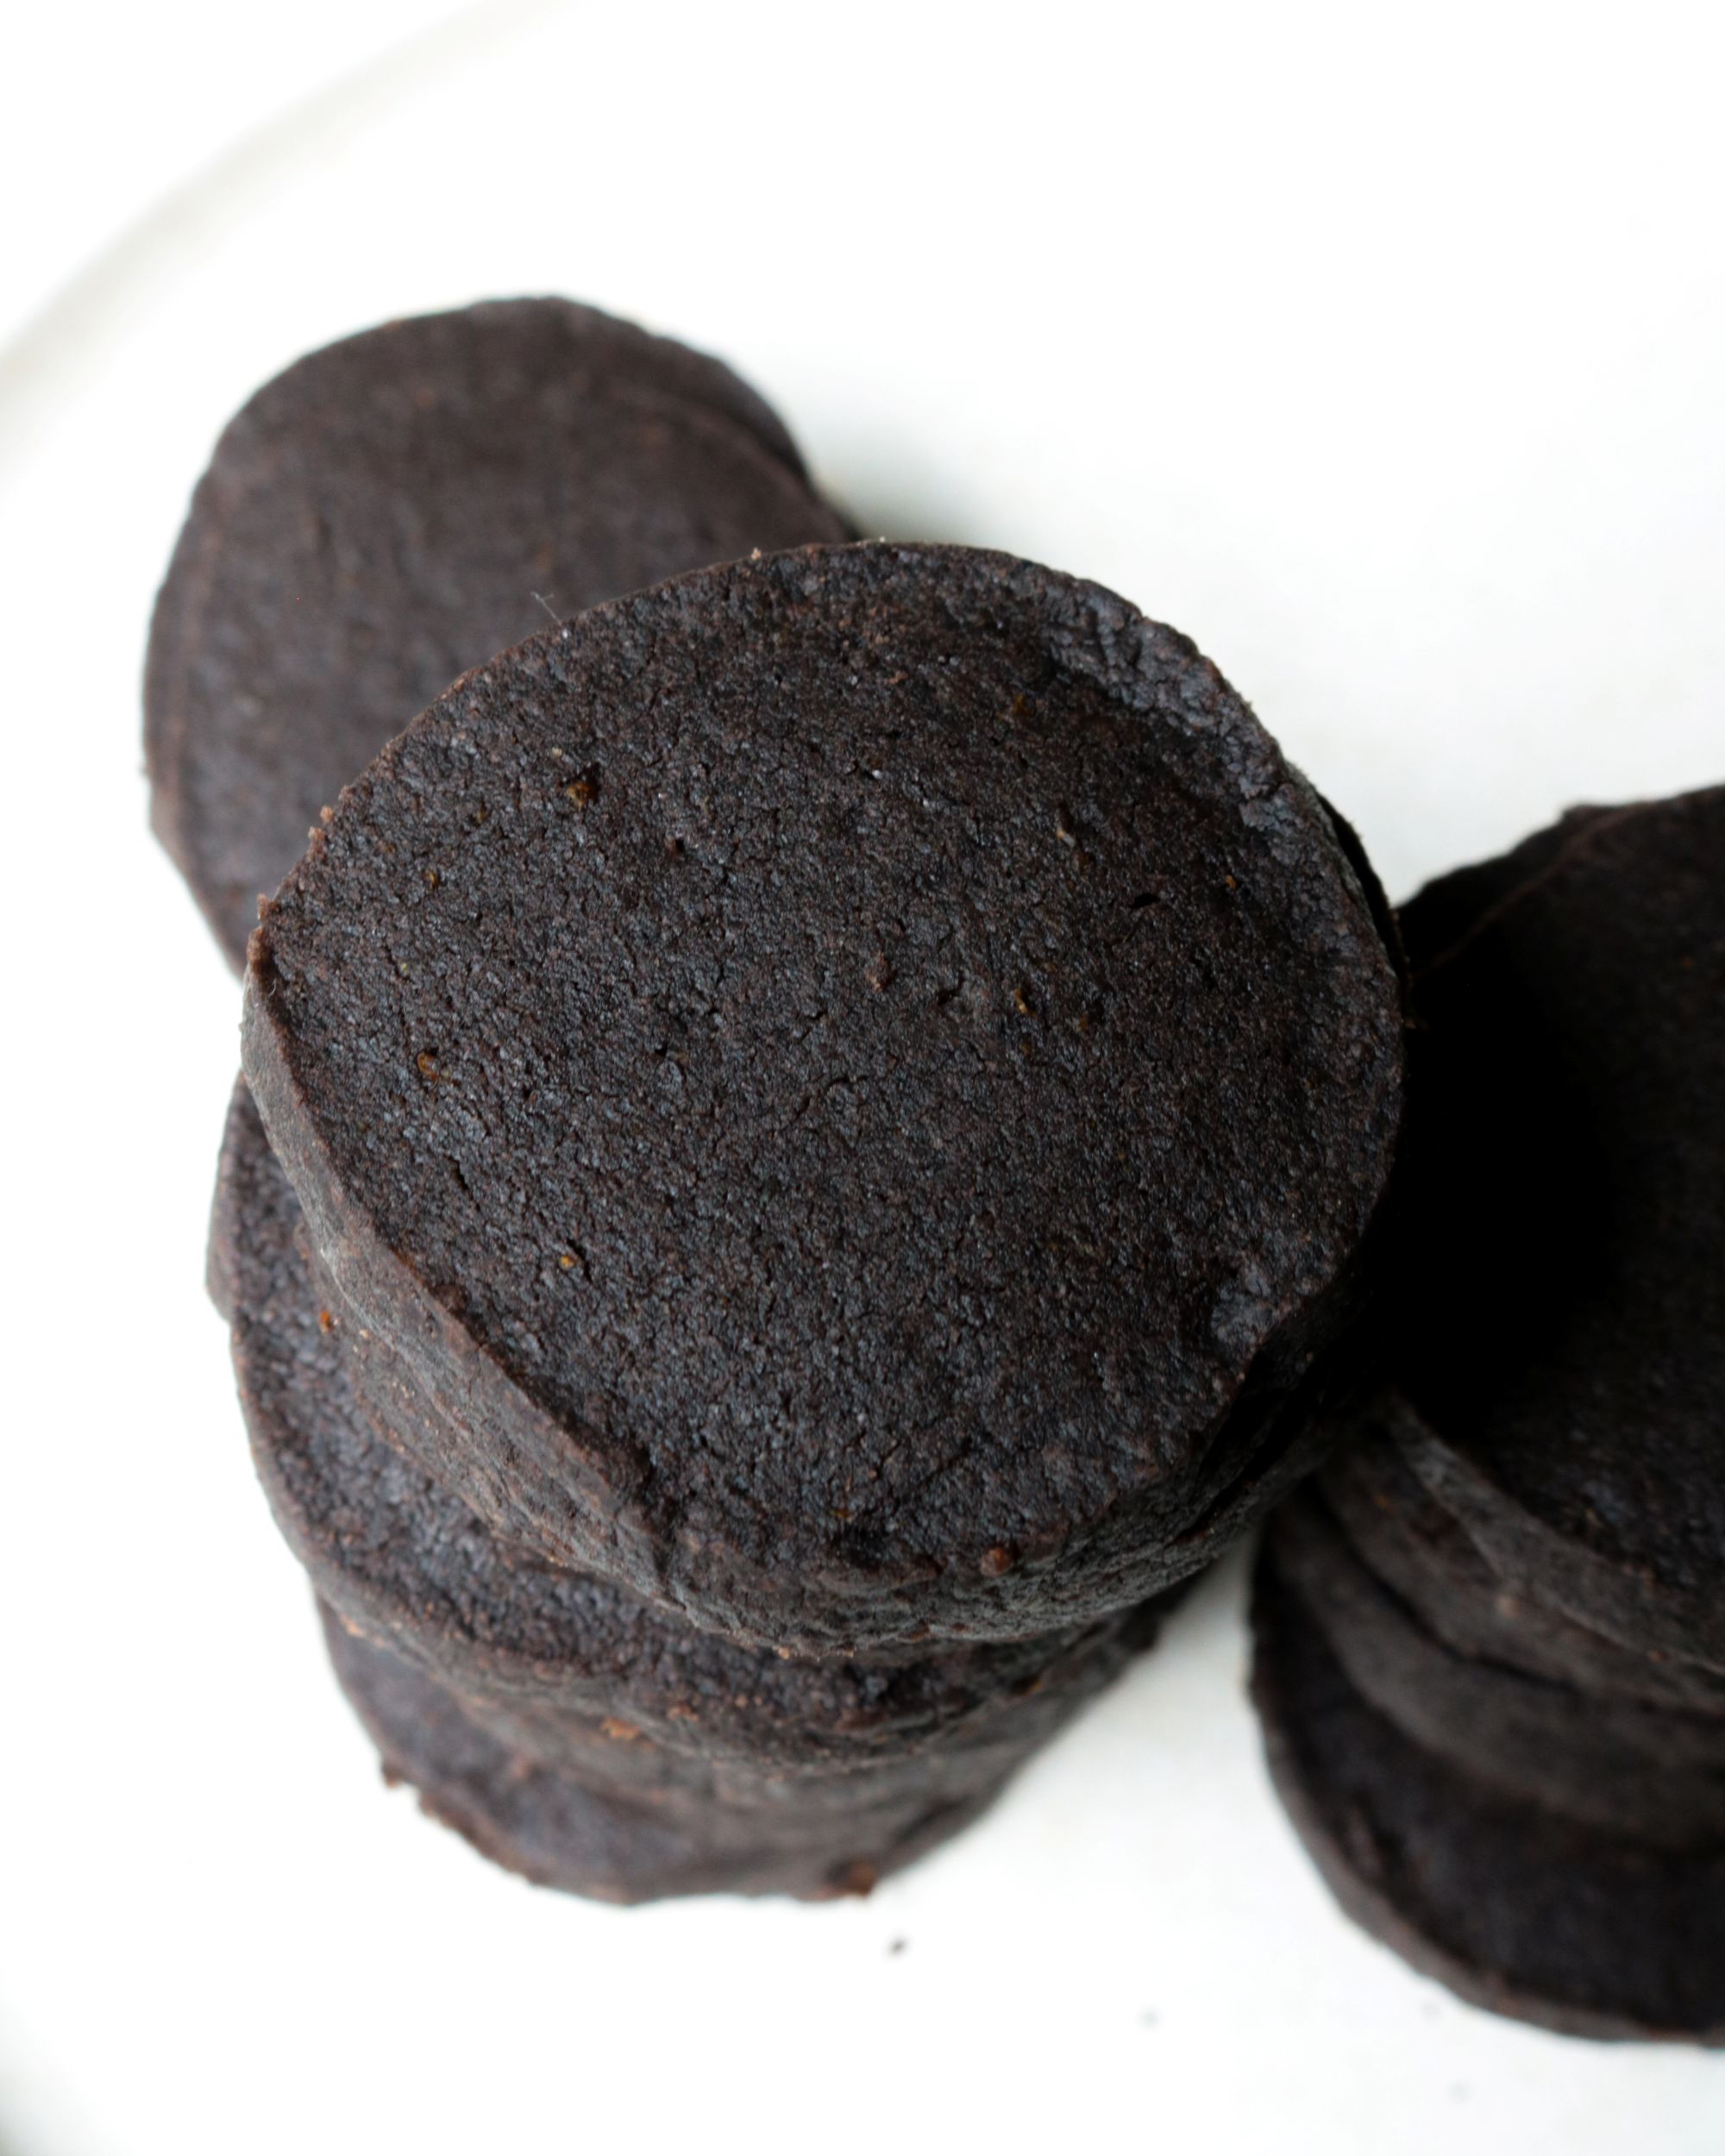
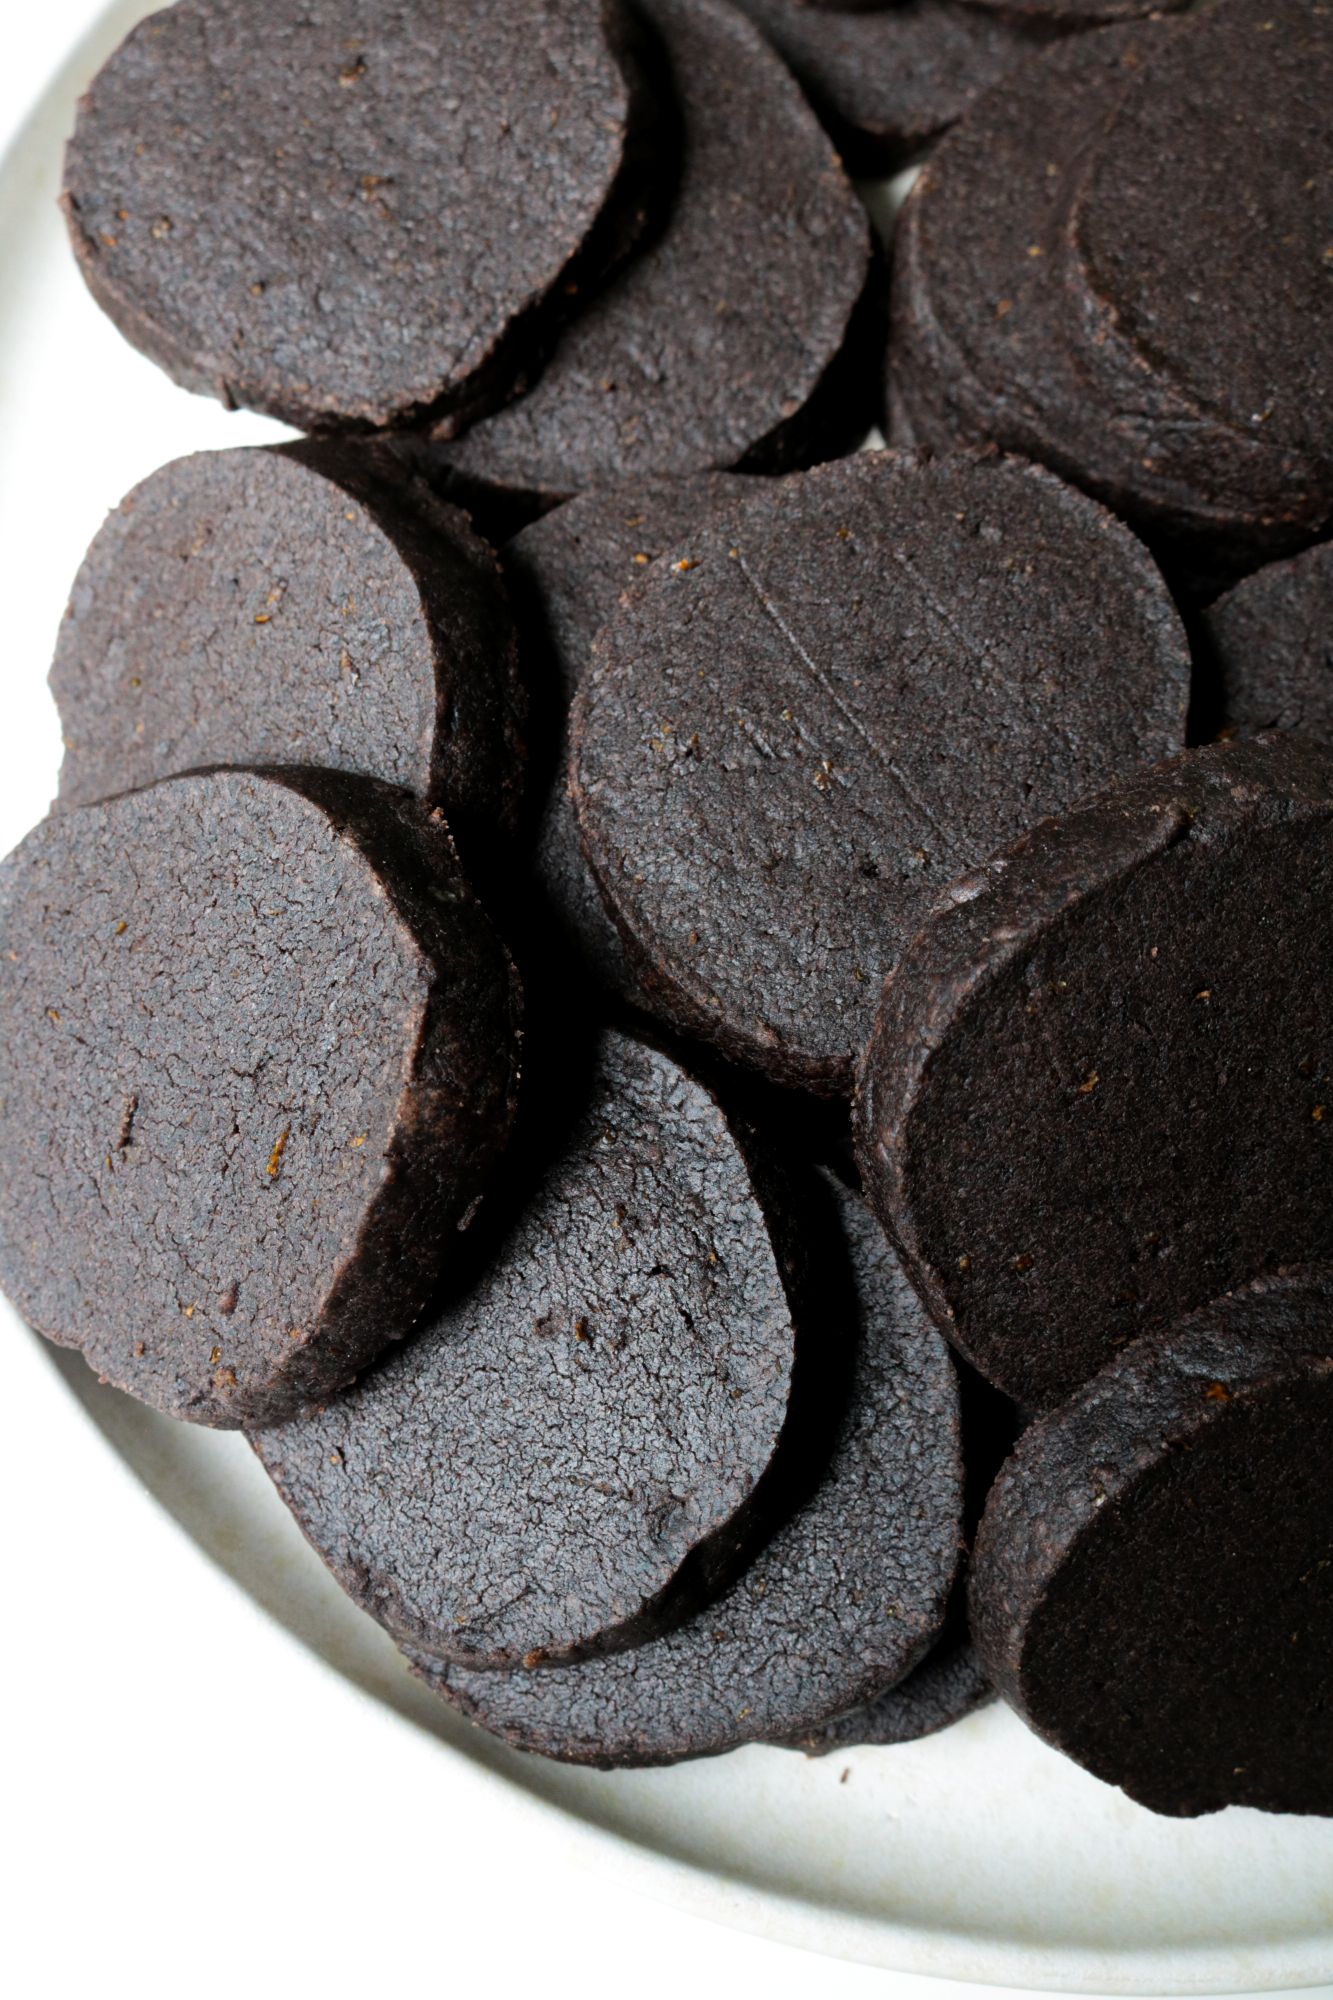
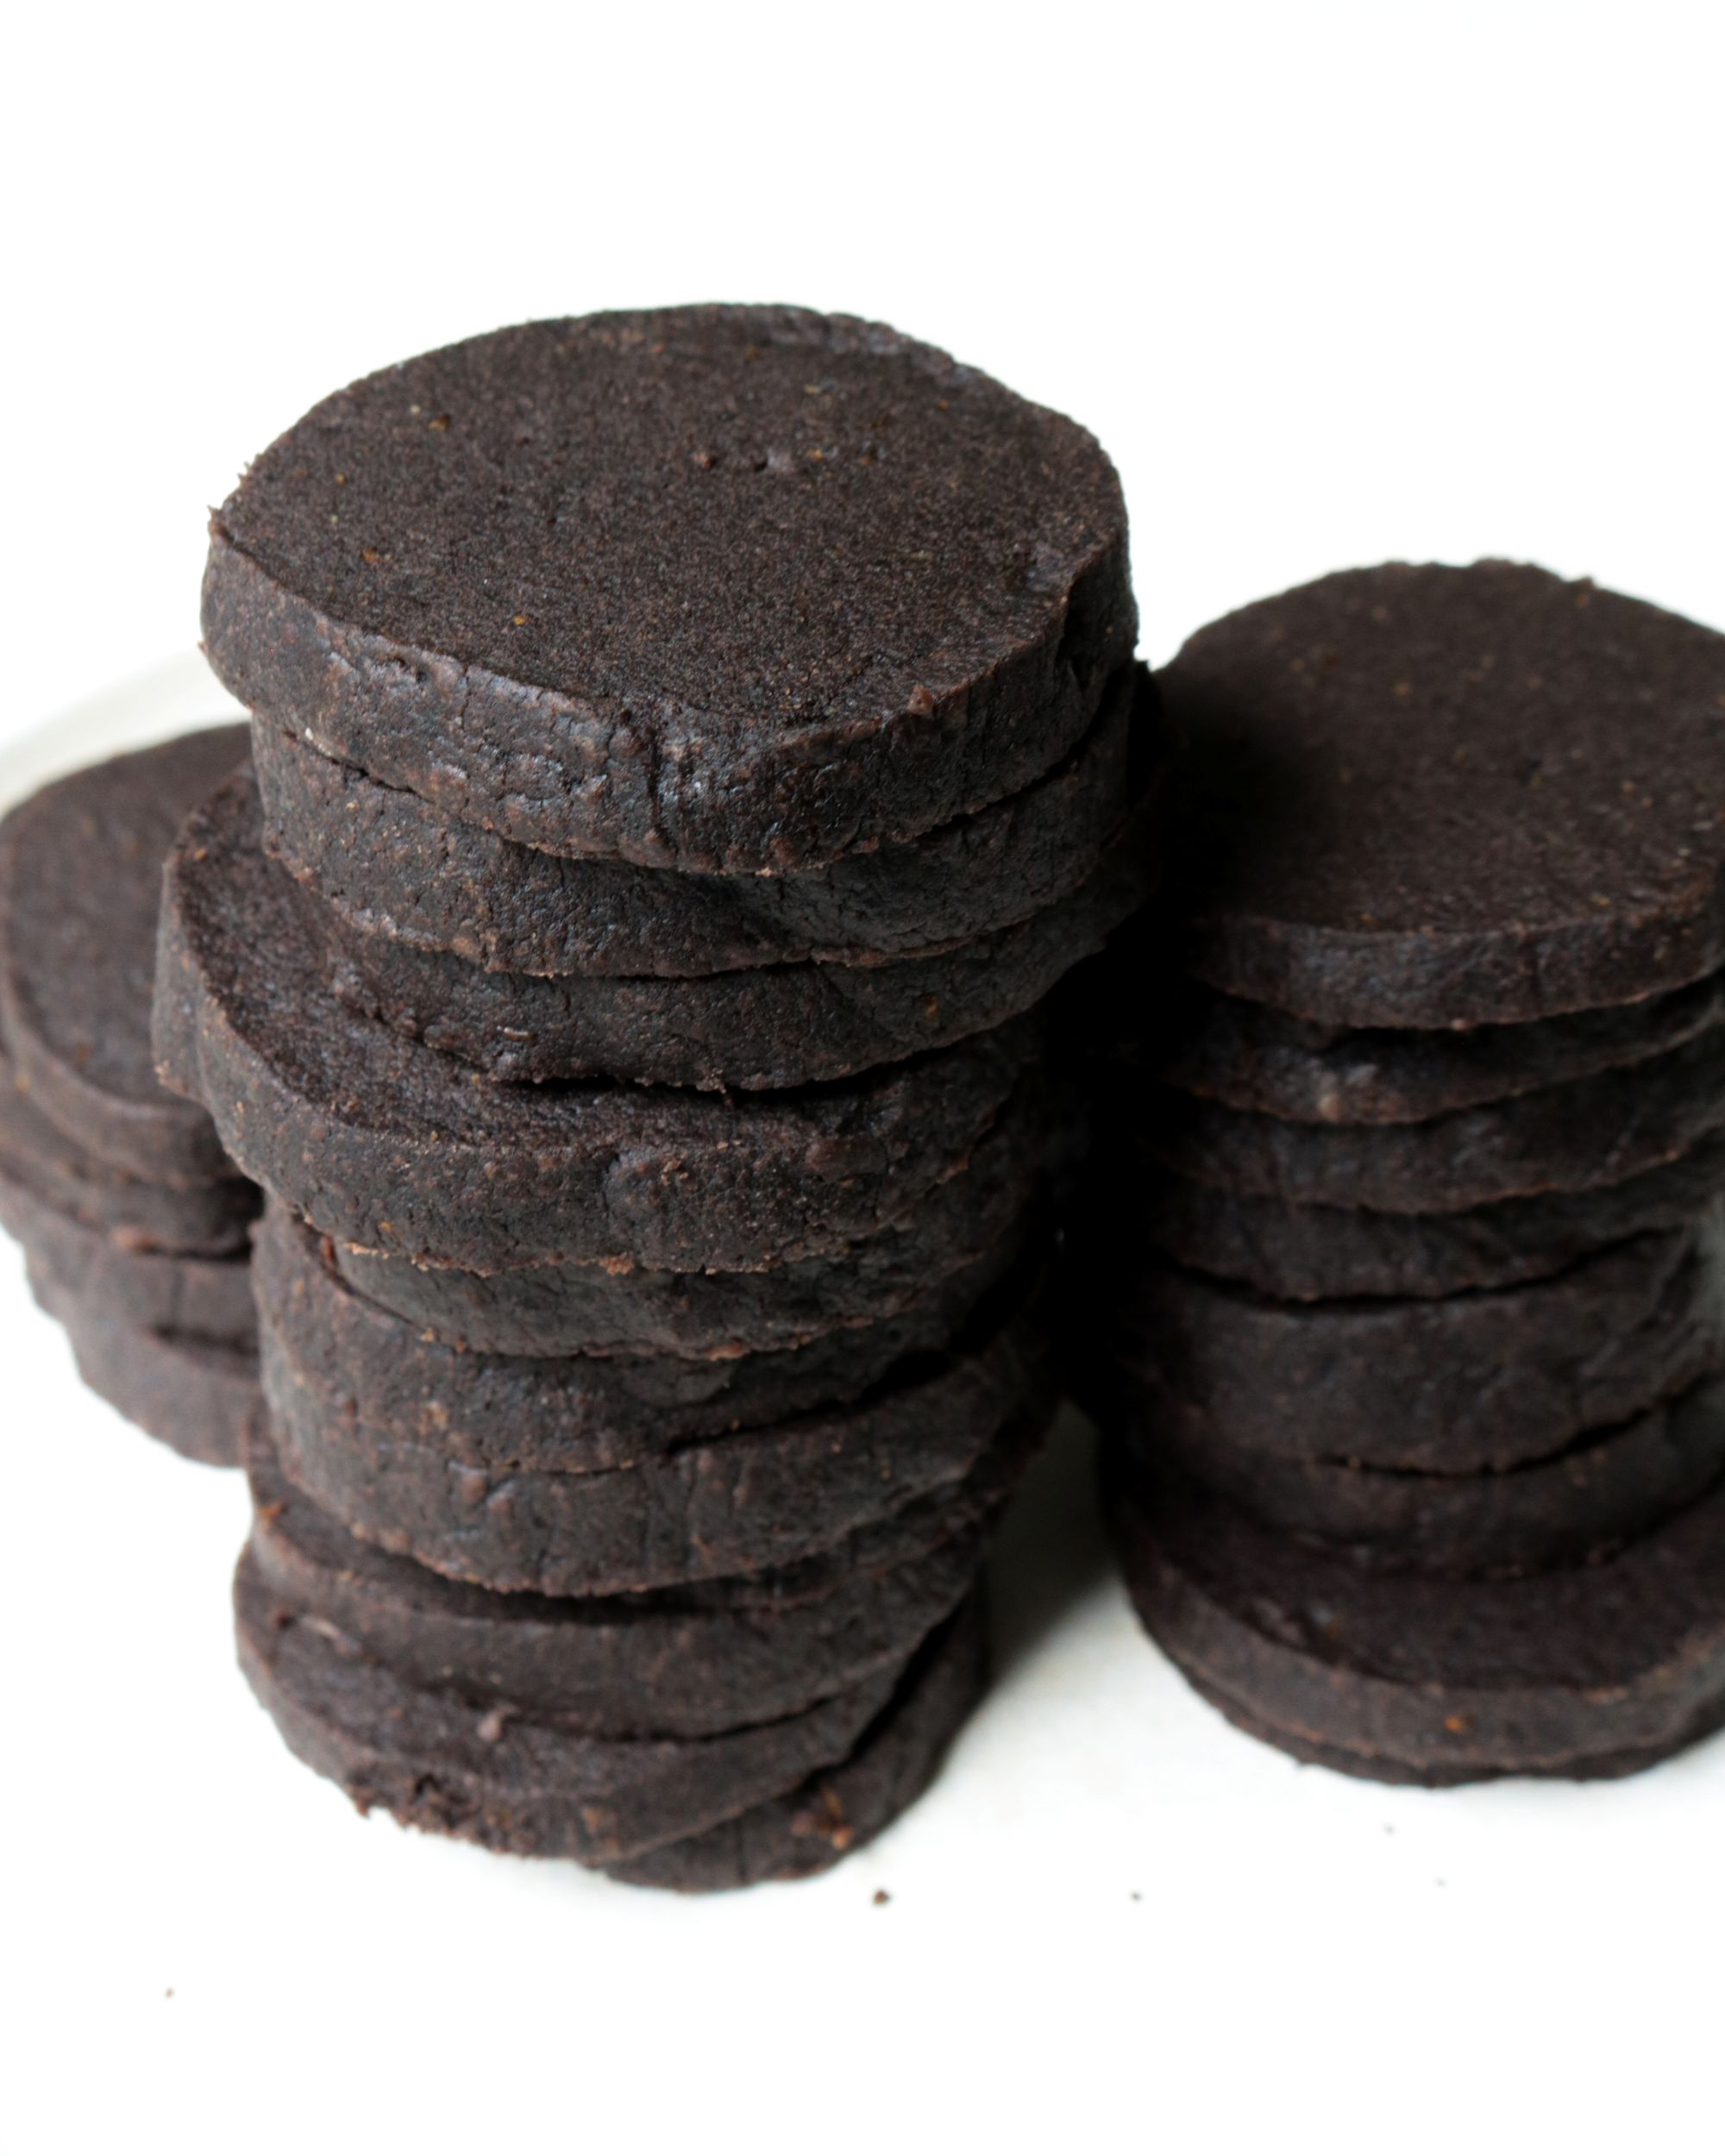
Regardless of those answers, I don’t think I’ll be entering this recipe. They were fine cookies, but not chocolate-y enough, and not short enough. Maybe I baked them too long, or the moisture from the orange affected how they baked. I think they also could have benefitted from being dipped in chocolate to up the chocolate flavor, but it’s unclear whether that would be allowed in competition.
It’s good to be able to rule out an idea though! Because I have too many. I think I’ll try to make the focus on the short-ness and texture rather than flavor for the shortbread category. Maybe just a simple almond shortbread that melts in your mouth. Because really… does it get any better than that? Why try to be fancy in the notoriously simple perfection category?

In the meantime though, I’m never one to turn up my nose at a chocolate orange treat, especially one so small and bite-sized. These could also probably be made into a really good crust, but… that’s for another day!
Print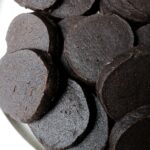
Ingredients
- 1 cup (226g) butter (use salted butter, see note)
- 1 cup (113g) powdered sugar
- zest of one orange
- ¼ cup 20g unsweetened cocoa powder
- 1 ¾ cups (217g) all-purpose flour
Instructions
- Cream butter, sugar, and orange zest in the bowl of a stand mixer (or in a very large bowl using a hand mixer), until fluffy and creamy, about 1 minute. Scrape the sides and bottom of the bowl.
- Mix in cocoa powder and vanilla, then again scrape the sides and bottom of the bowl.
- Add flour and mix until smooth, scraping the sides and bottom of the bowl (especially down in the bottom of the stand mixer bowl where things get caught) once during mixing.
- Lay out a piece of plastic wrap on a clean work surface. Scoop the dough onto the plastic and use your hands to form it into a log. Wrap up the log and roll to make into a uniform size. How long your roll is determines how many cookies you’ll get (or if you want small bite size cookies, make two rolls).
- Chill the rolls at least 1 hour, or until firm, before slicing and baking (or as long as overnight). To help the roll stay round, place it standing up in a tall drinking glass to chill in (this way it won’t flatten on one side).
- Preheat oven to 350°F. Line 2 cookie sheets with parchment paper or silicone baking mats.
- Slice log into ¼-inch thick slices and place 2-inches apart on cookie sheets. Bake for 14-17 minutes or until they just loose their glossy sheen. Cool completely before removing from cookie sheets.
- Store in an airtight container for up to 4 days or freeze for up to 3 months.