Shortly after I started working at Milk Bar, they changed the name of their trademark pie from “Crack Pie” to “Milk Bar Pie.” It was called “Crack Pie” because apparently when Christina Tosi first made it, it was such a hit with her coworkers that one said, “you’ve got to take this away from me, it’s like crack!” But, in 2019, the Powers That Be (an overly vocal contingent on the Internet, probably) decided that was insensitive, so they changed the name to “Milk Bar Pie.” And, I get it. All of the wealthy influencers or even just regular people with an extra $6-7 to spend on a single slice of pie have likely never been anywhere near crack cocaine. I, the person being paid minimum wage to get them their slice of pie, have never been anywhere near crack cocaine. Perhaps we could all come up with another way to say something is addictive other than invoking crack cocaine. Et cetera, et cetera. However, I spent 2+ years saying “Milk Bar Pie,” and answering questions about what it is. And it is not a name that rolls off the tongue. It also leads to questions like, “Is it made of milk? Is it a bar or a pie?” And when you have to answer those questions 17 times a day… it becomes exhausting. So, I have decided on a new name: Craic Pie. As in, the Irish slang word “craic,” which means “enjoyable social activity; a good time.” A Good Time Pie! Fun Pie!!! And you pronounce it exactly the same as Crack Pie. It’s perfect.
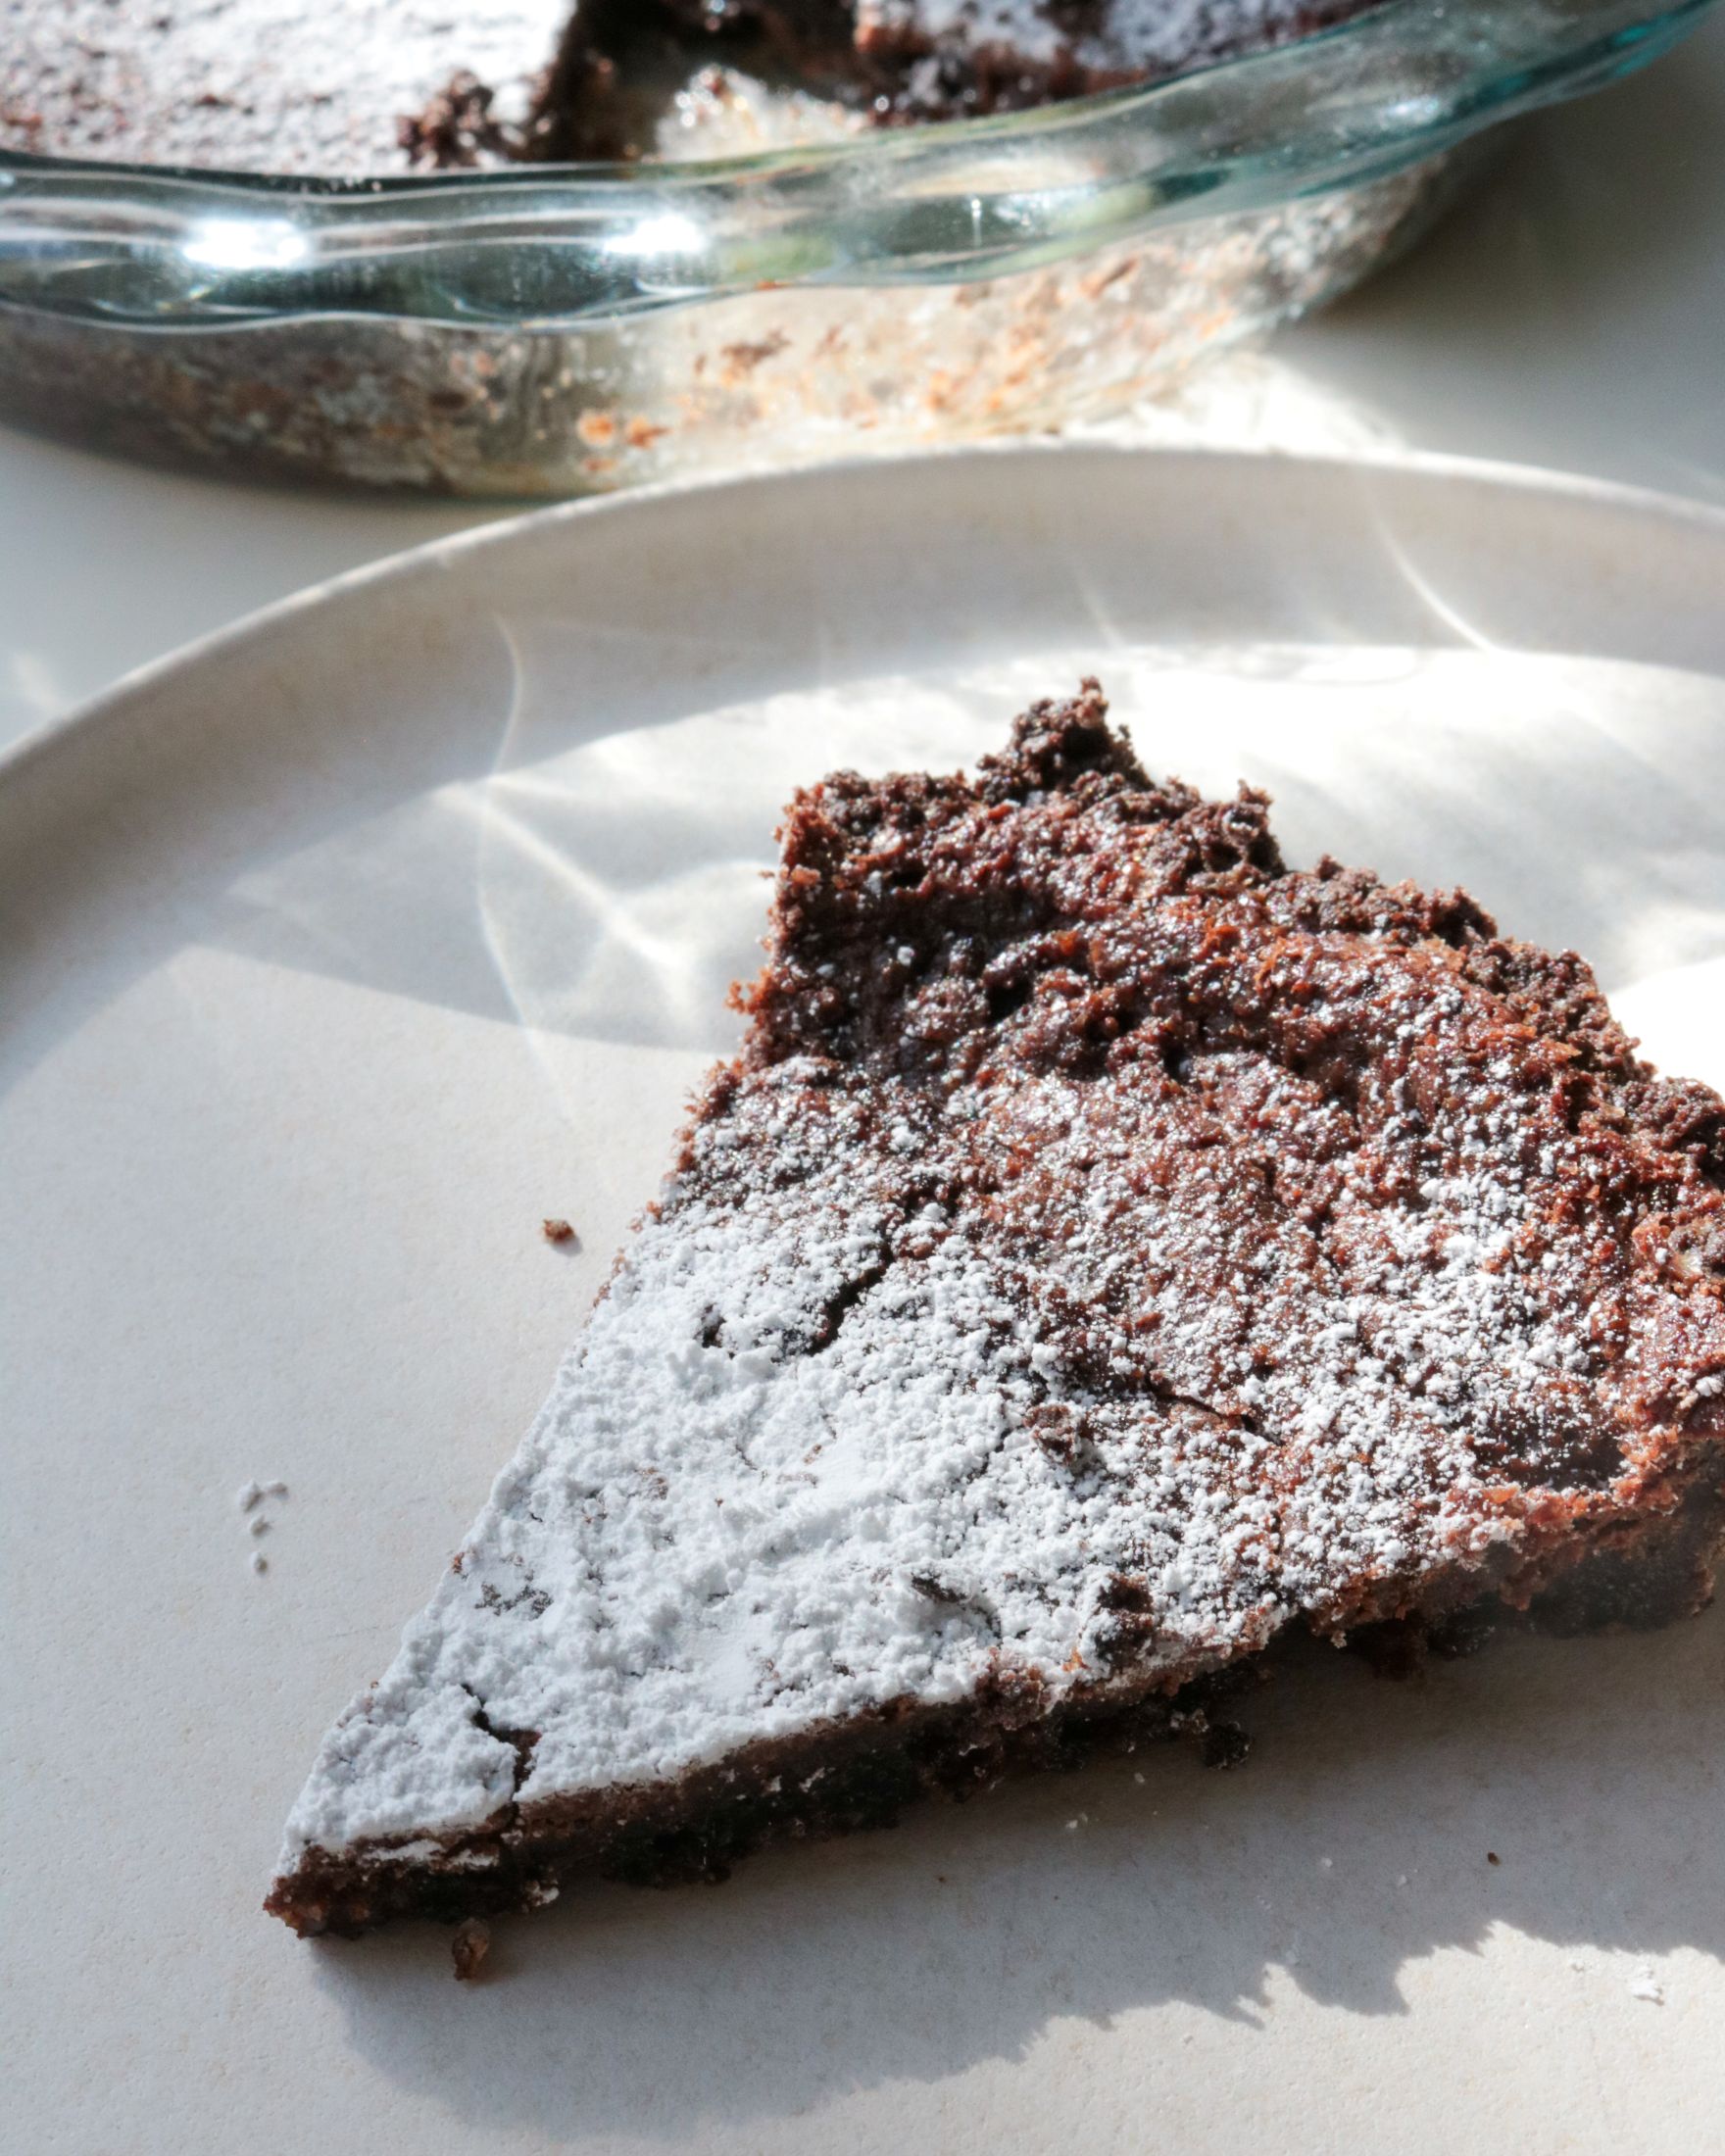
Milk Bar will obviously not be changing the name, but I am tired of calling it Milk Bar Pie. It’s such a mouthful. And with all the changes I’ve made to the recipe in this version of the pie, it is pretty removed from the original. So this is Thin Mint Craic Pie!
I have often found that the most time consuming and difficult part of the Craic Pie recipe is making the cookie for the crust, then using that cookie to make the crust. It’s two steps just to get the crust, and then the filling is the most simple thing in the world. So, I decided to skip the crust part and just use crushed up Thin Mints!
And, since I made a Chocolate Craic Pie last year, I knew a chocolate filling would be good. It was just a matter of adding peppermint extract.
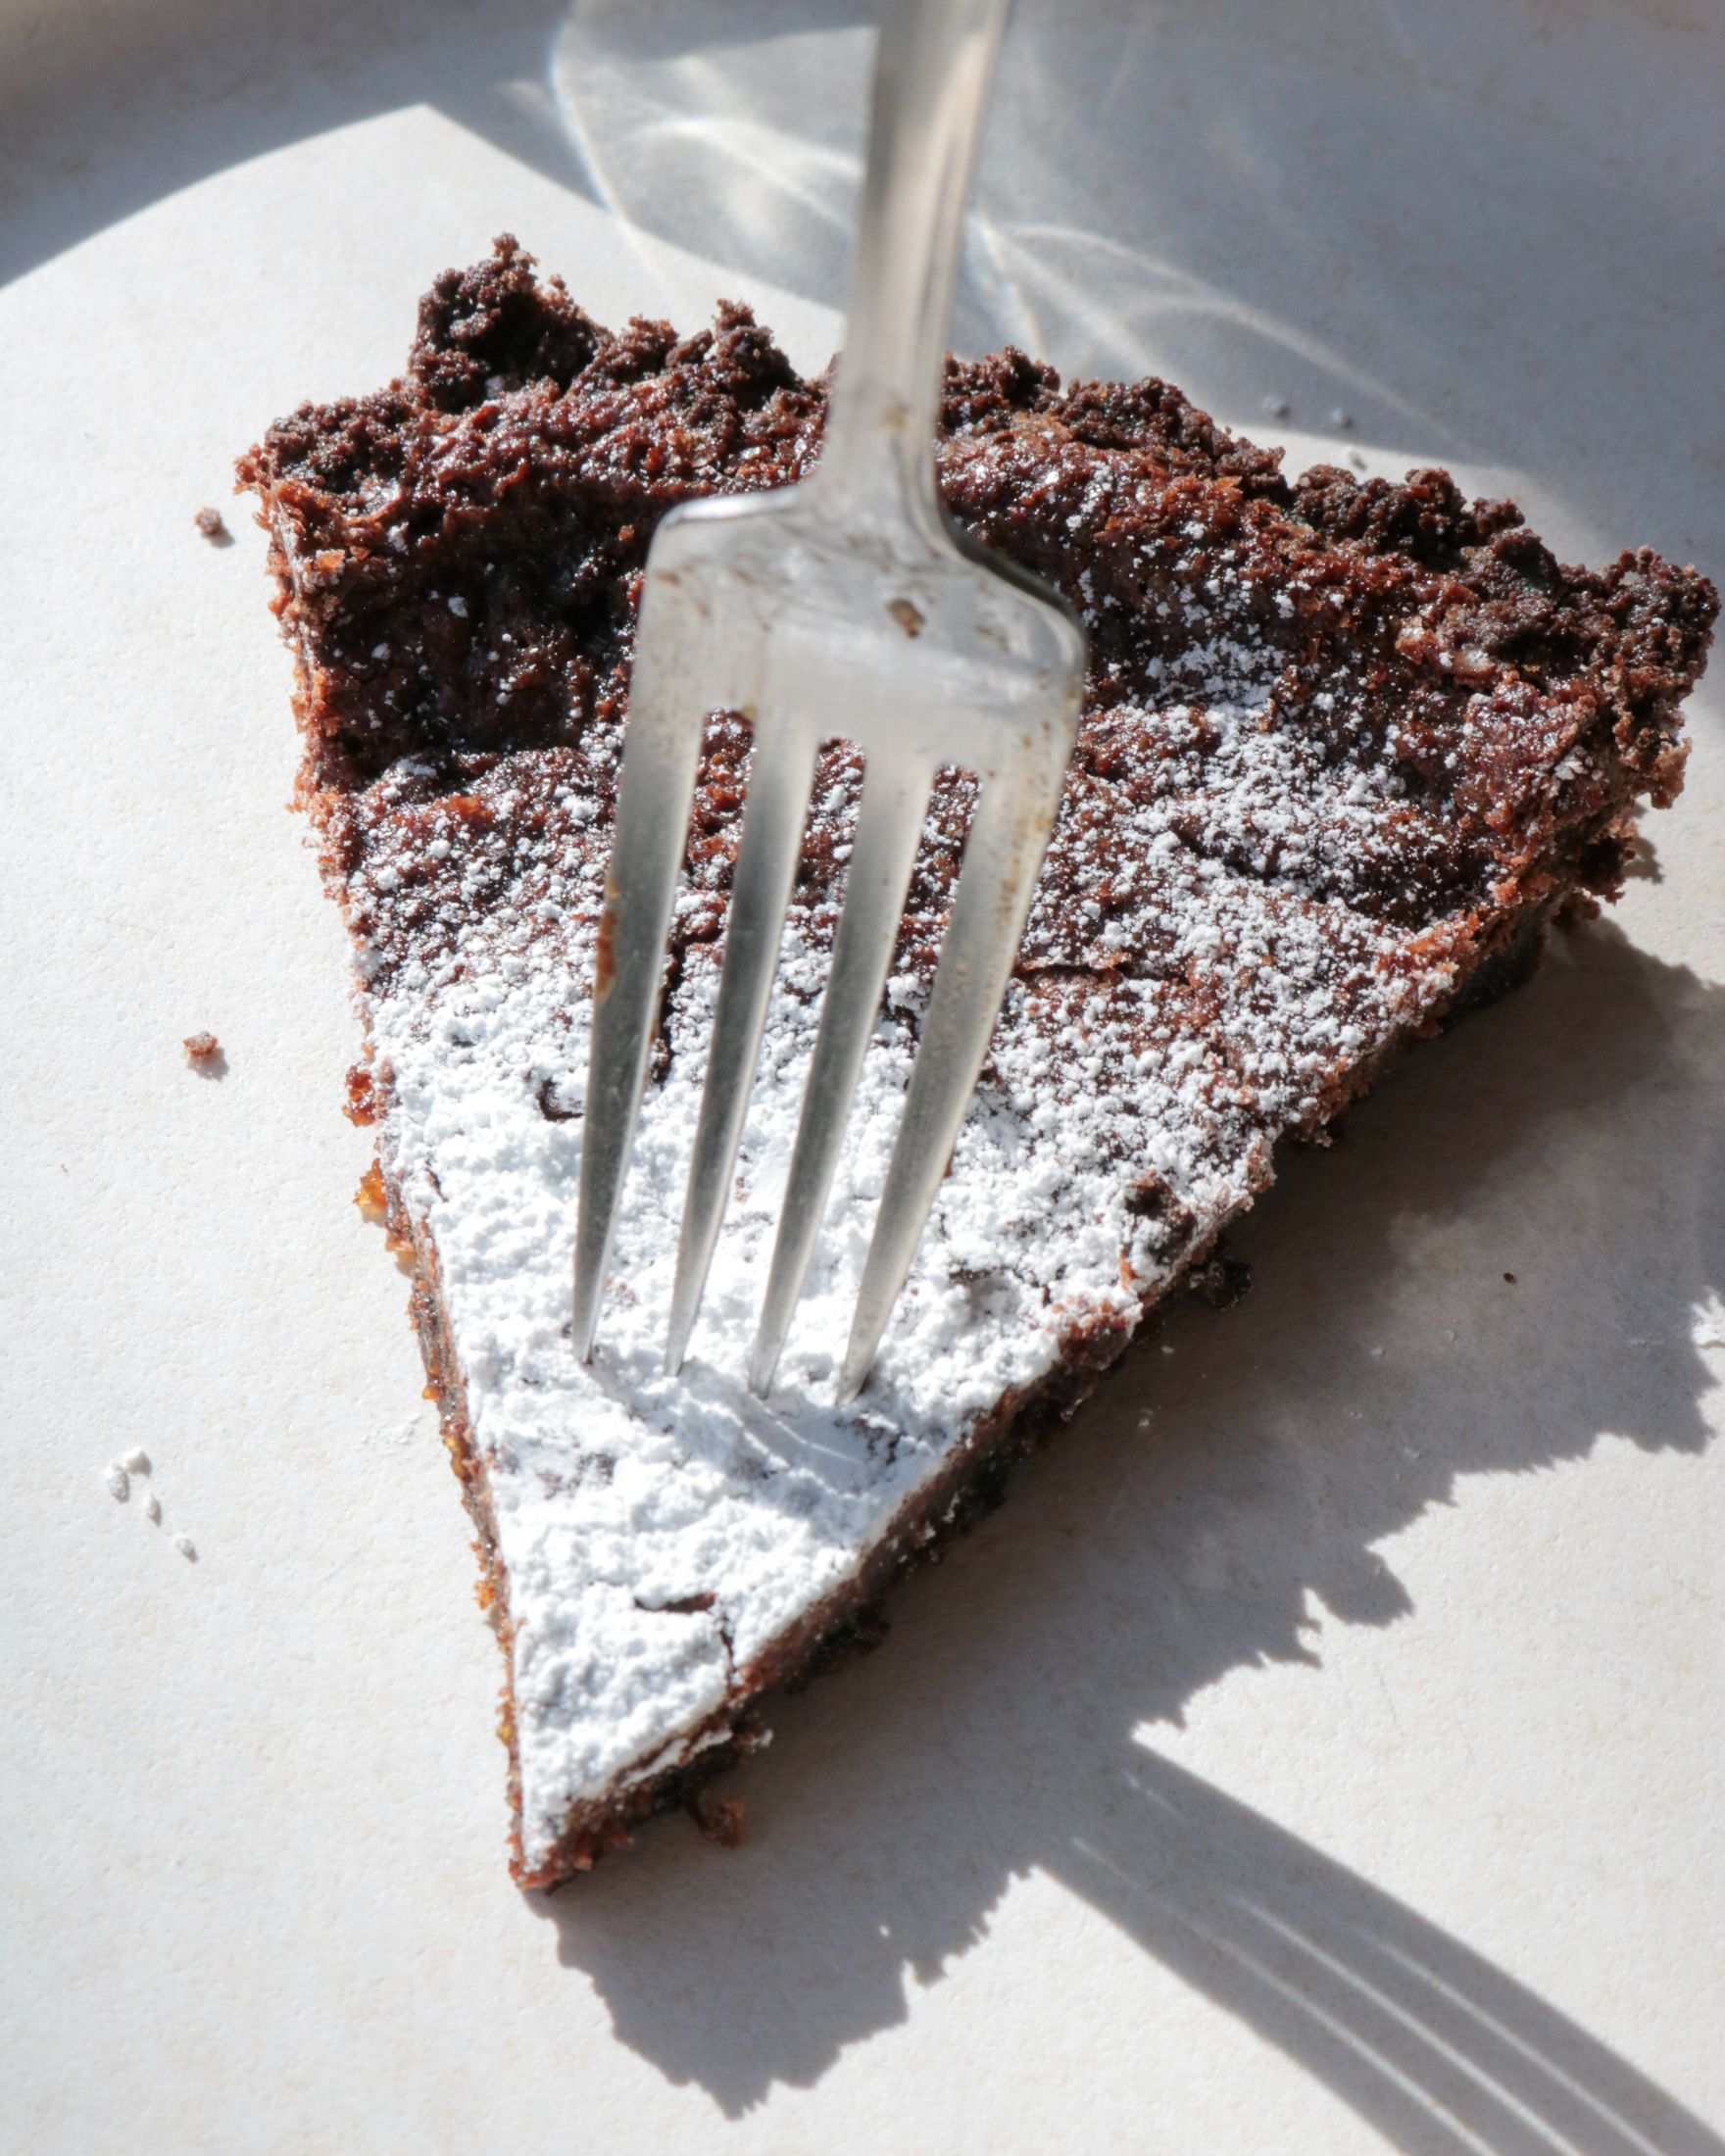
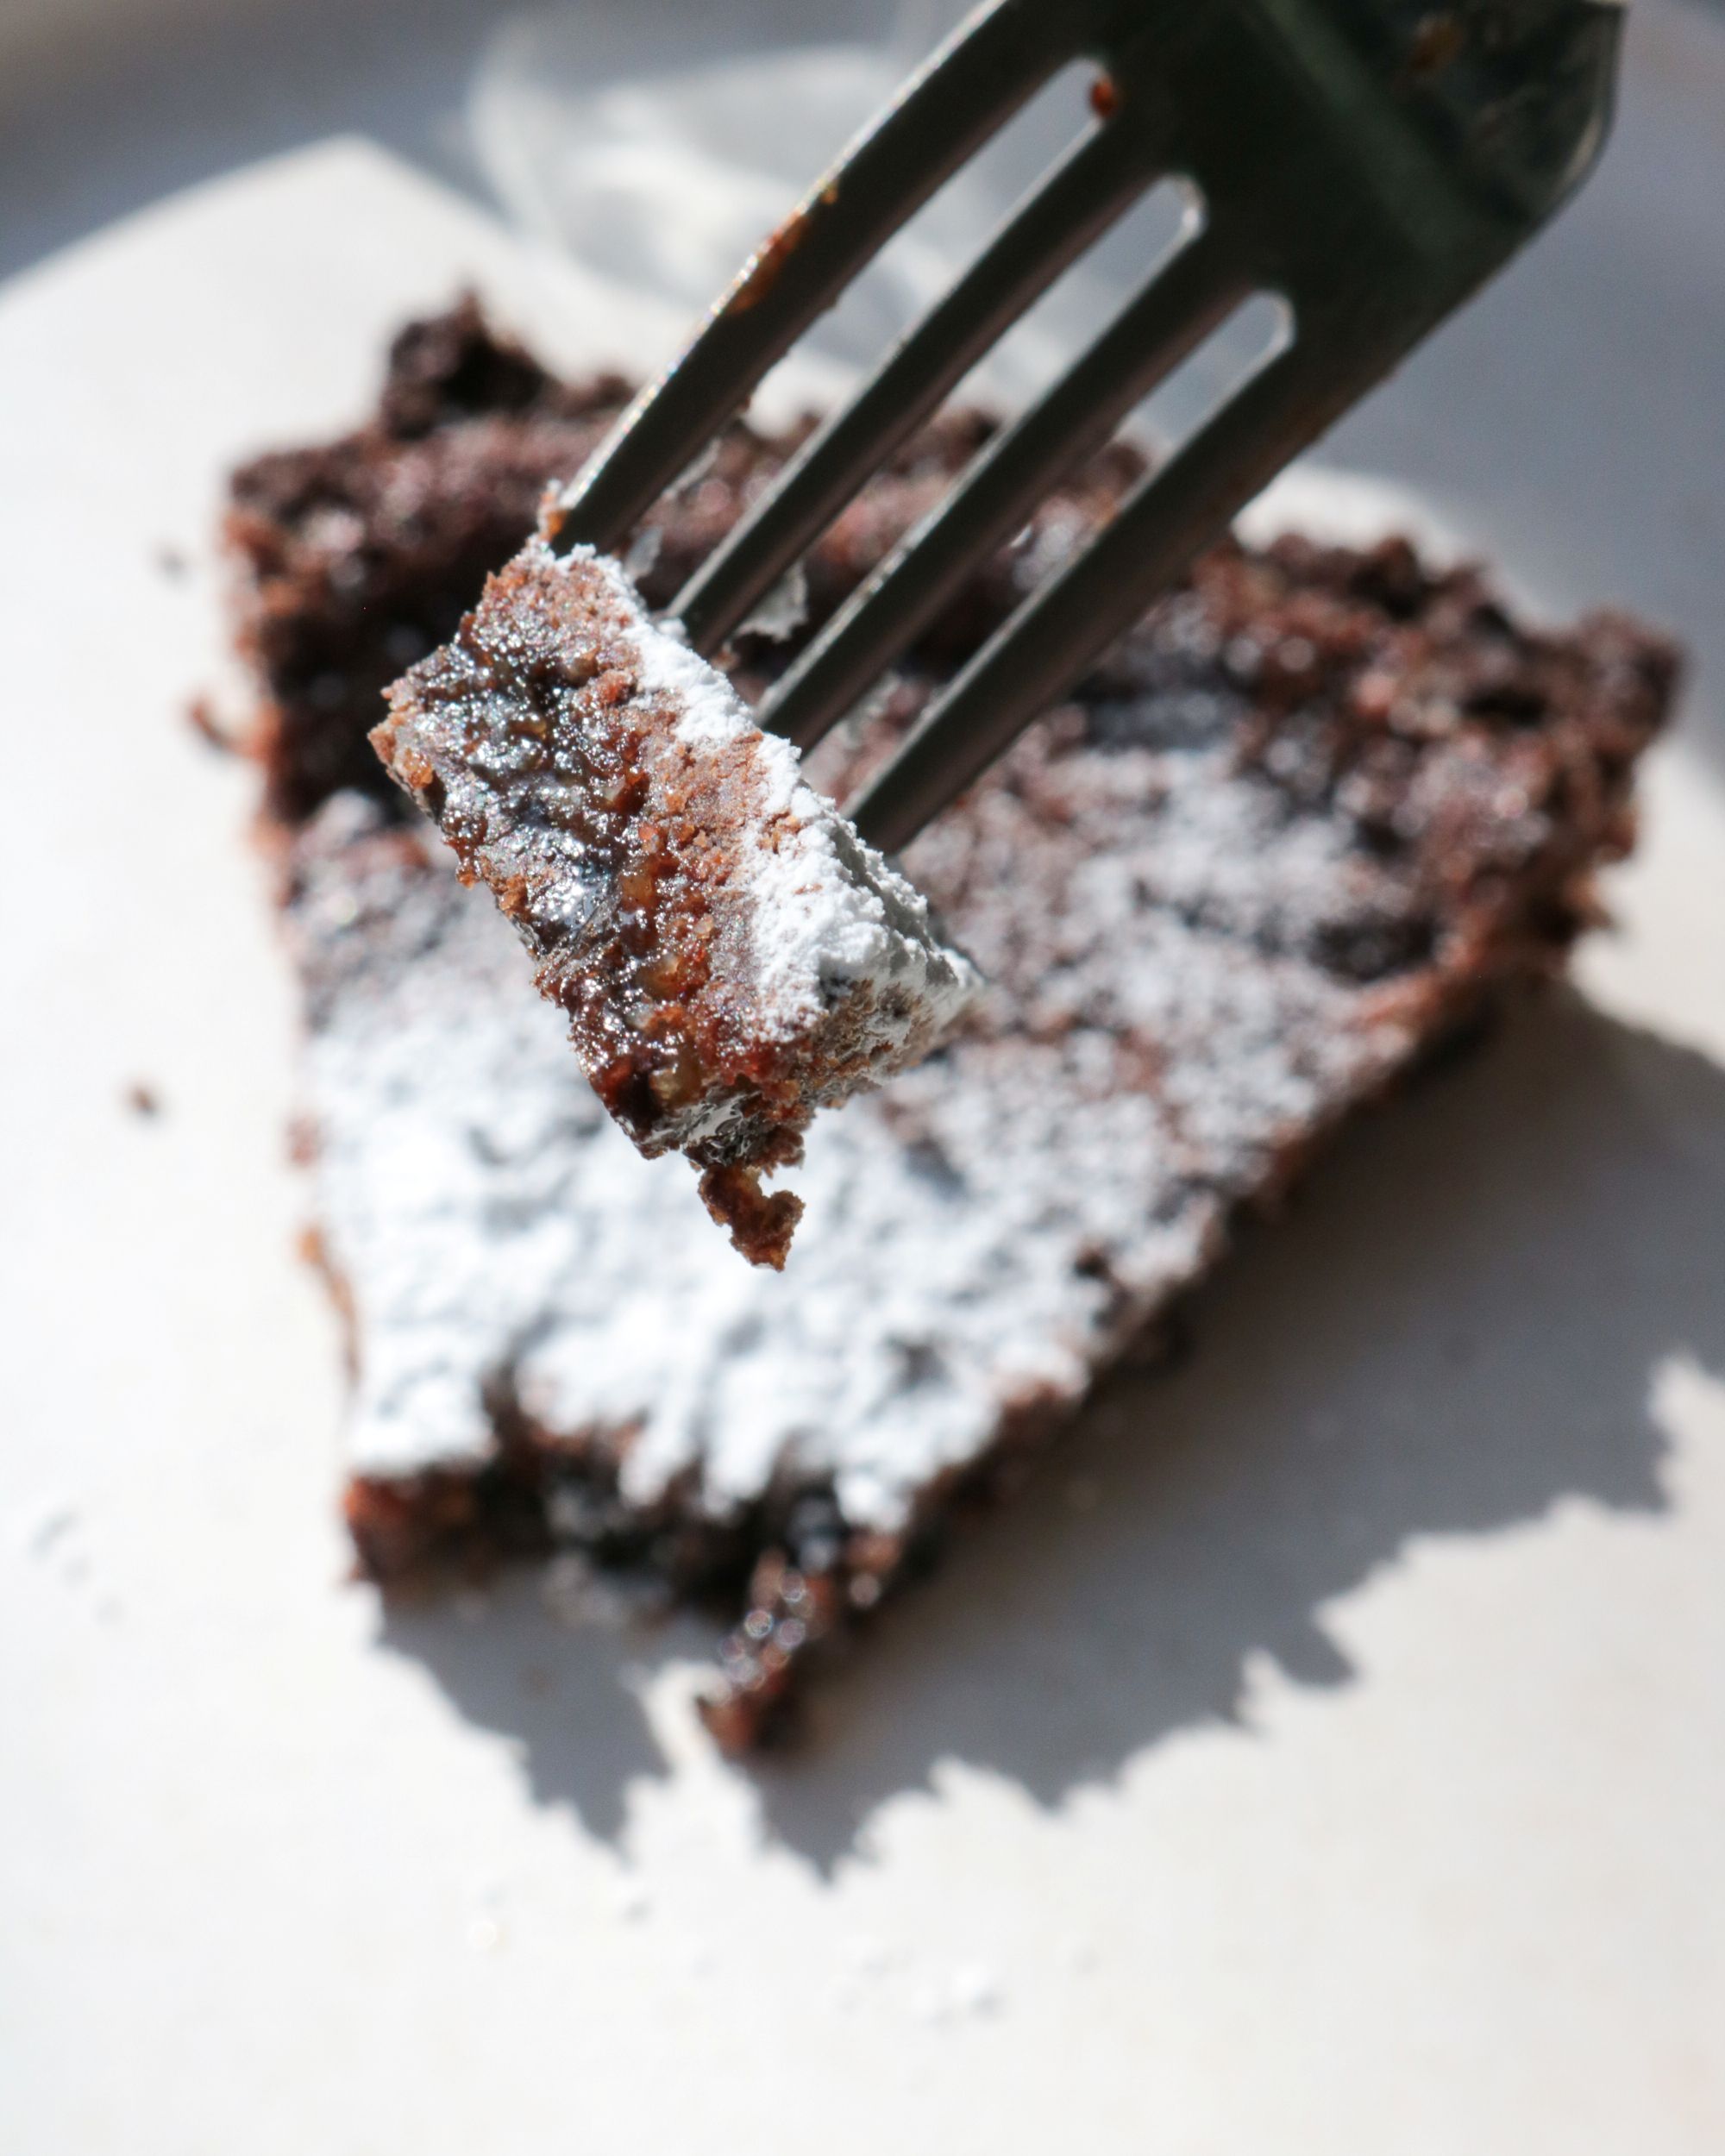
I gotta say… sometimes I bake something, and all I can think is… yeah, I’m good. This is a verrry tasty pie. Thin Mints are the best Girl Scout cookie already. And then I wasn’t sure about how the peppermint would work in the chocolate pie, but then it worked very well! So it’s an all around delicious pie.
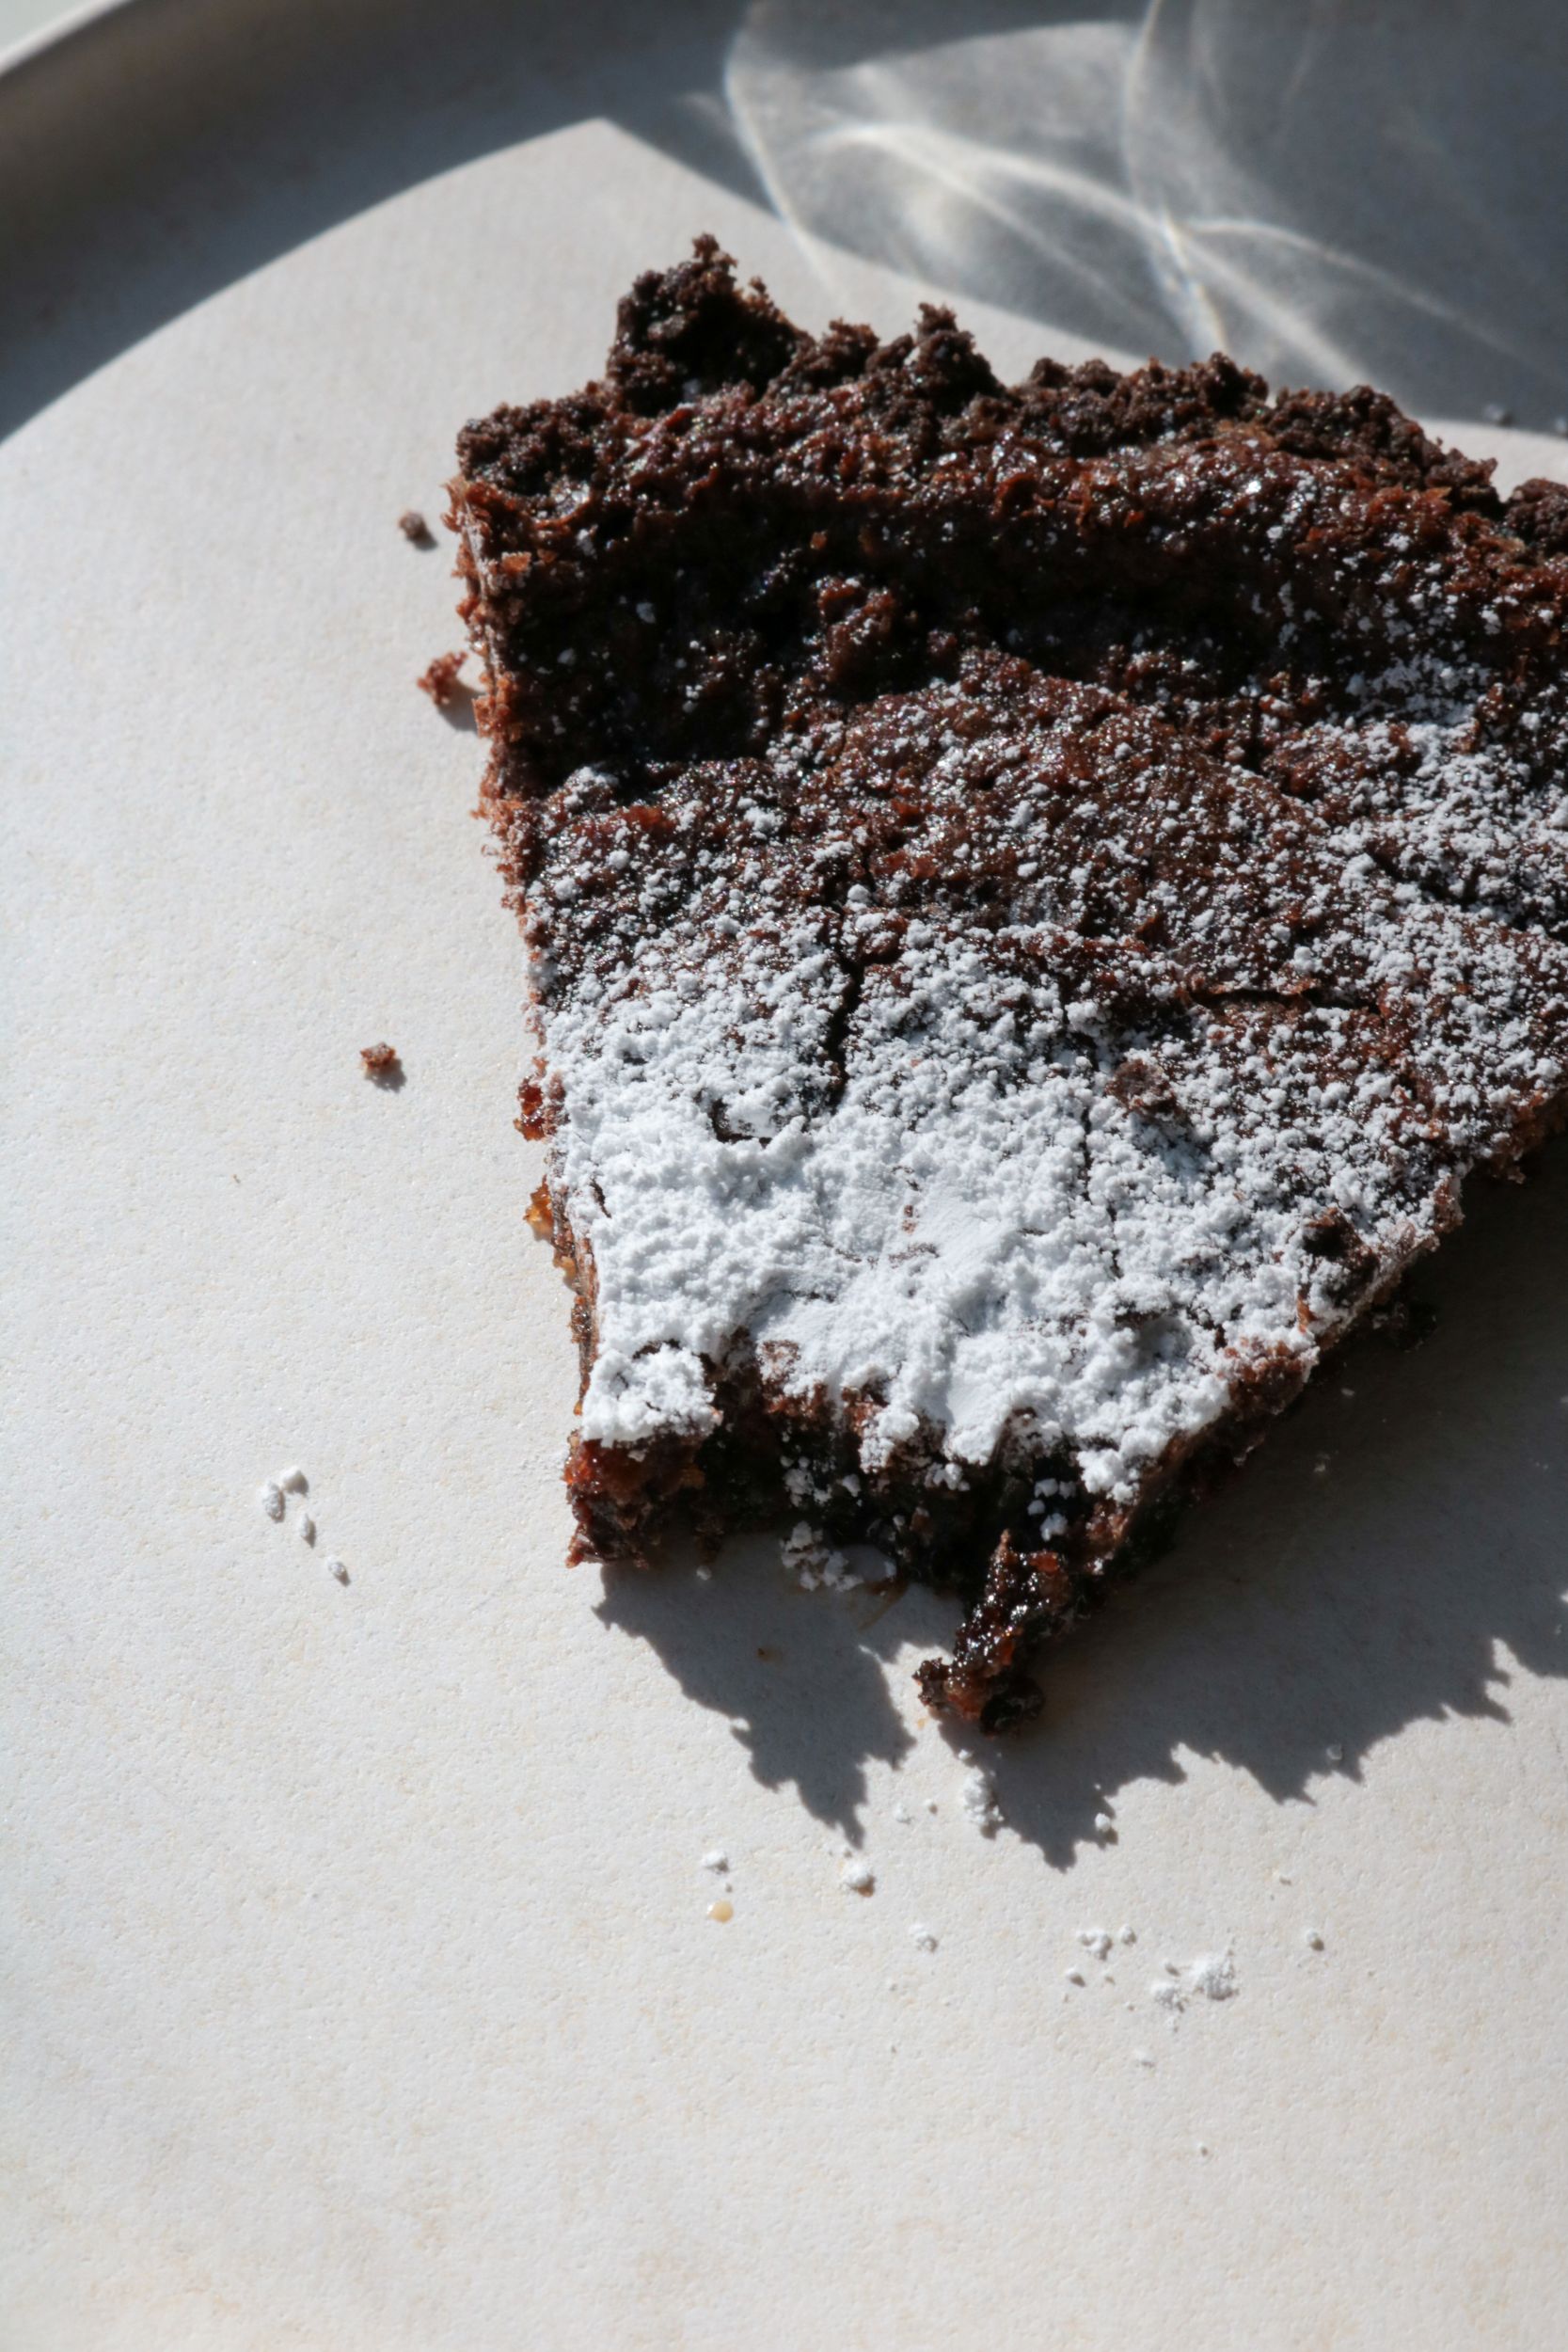
And, just like Thin Mints, this pie is best served cold. You could even keep it in your freezer next to your box of Thin Mints. But you won’t forget about this pie and find it again four months later. It’ll be gone too quick!
Print
Ingredients
For the crust:
- About 24 Thin Mint cookies, crushed (about ¾ cup)
- 3 tablespoons unsalted butter , melted
- Pinch of salt
For the filling:
- 1/2 cup + 1 tbsp white sugar
- ¼ cup+ 1 tbsp light brown sugar
- 1 tbsp+ 1 tsp ovaltine
- 2 tbsp cocoa powder
- ¾ tsp kosher salt
- 6 tbsp unsalted butter (melted and cooled)
- ¼ cup heavy cream
- 3 egg yolks
- 2 tsp peppermint extract
Instructions
Make the crust:
- Preheat your oven to 350°F and grease a 9 or 10 inch pie pan. Mix all the crust ingredients together in a bowl until combined. Press evenly into the pan. Bake for 8 minutes. Set aside to cool while you prepare your filling.
Make the filling:
- Combine the sugar, brown sugar, Ovaltine, cocoa powder, and salt in the bowl of a stand mixer fitted with the paddle attachment and mix on low speed until evenly blended.
- Add the melted butter and paddle for 2 to 3 minutes until all the dry ingredients are moist.
- Add the heavy cream and peppermint extract and continue mixing on low for 2 to 3 minutes until any white streaks from the cream have completely disappeared into the mixture. Scrape down the sides of the bowl with a spatula.
- Add the egg yolks, paddling them into the mixture just to combine; be careful not to aerate the mixture, but be certain the mixture is glossy and homogeneous. Mix on low speed until it is.
- Use the filling right away, or store it in an airtight container in the fridge for up to 1 week.
Bake the pie:
- Pour the filling into the prepared pie crust. It should be 3/4 of the way full.
- Bake at 350 degrees for 15 minutes. Then open the oven door and reduce your temperature to 325F. When your oven reaches that temperature, close the door and bake the pie for another 5 minutes. It should be a little jiggly in the very center of the pie but not on the edges. If it’s still too jiggly, leave them in for an additional 5 minutes.
- Take the pie out of the oven and transfer to a cooking rack. Then freeze your pie for at least 3 hours or overnight. This is what gives you that dense center. Transfer to the refrigerator to thaw for at least 1 hour before serving. Serve cold.
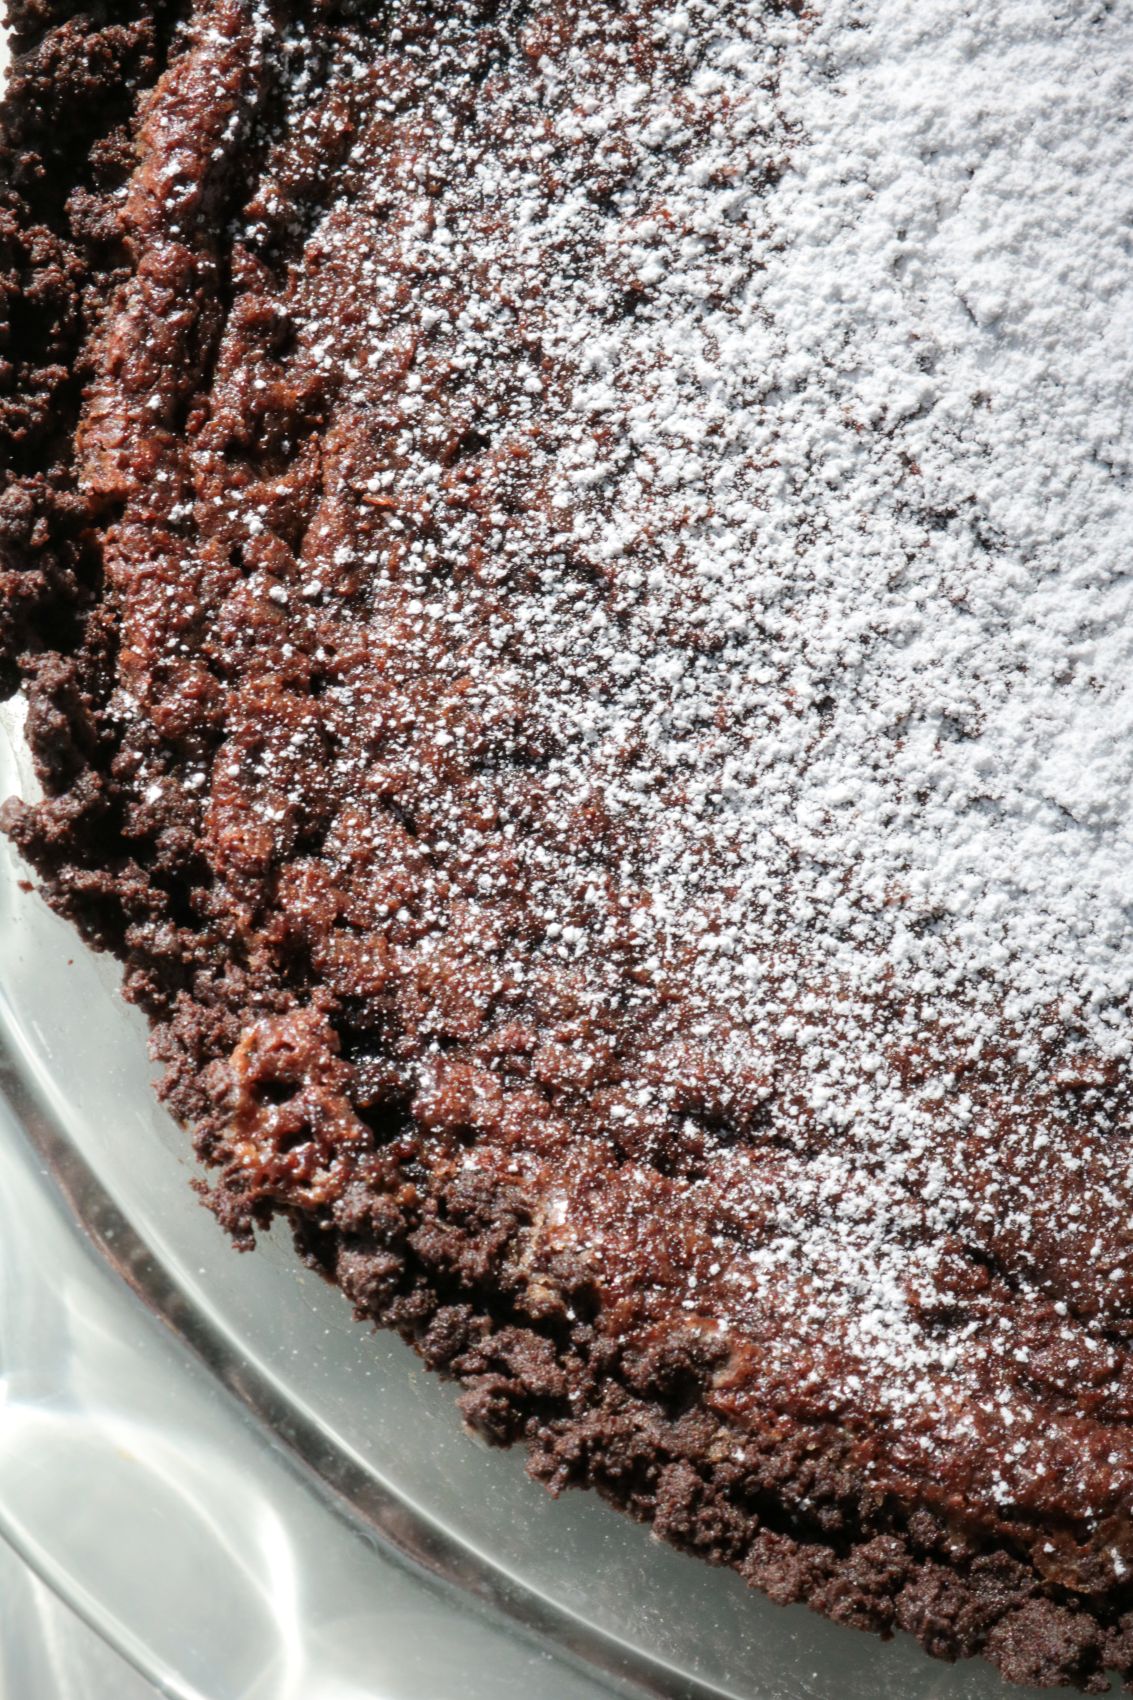
- Dust your mixture of powdered sugar and cocoa powder all over the top.